Recently I built my dream bike with a titanium frame and a Pinion C1.12i gearbox with electrical shifting (SmartShift). Some hacking was required to get decent brake levers with integrated shifters working…
TRP Hywire?
As I want to use a drop bar handle bar, the only real option for brakes are TRP Hywire. TRP Hywire brakes come with a shift/brake lever (brifter) which can be connected to the Pinion SmartShift box to allow seamless shifting.
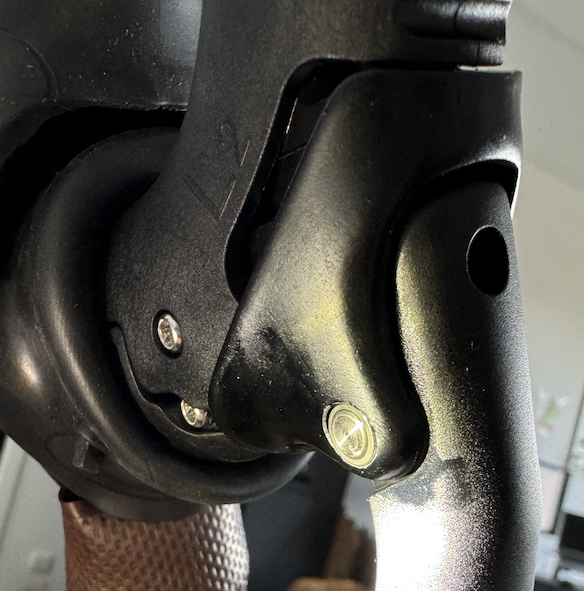
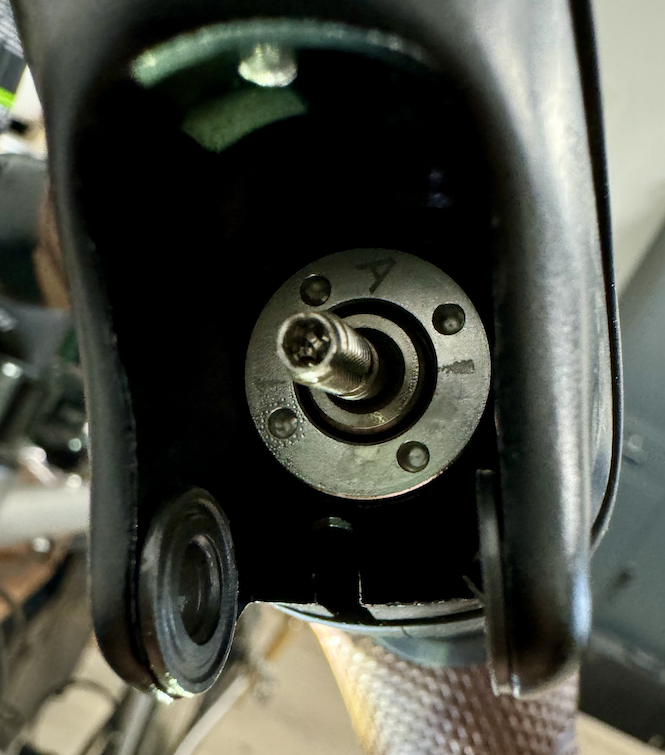
Unfortunately, I ran into issues with the Hywires, where it seems that the “pistons” in the lever’s master cylinder leak tiny amounts of brake fluid, which accumulates over time and eventually leaks out of the levers and contaminates hands, handle bar etc.


I had this issue with both levers (left and right), and even buying a brand new second pair didn’t fix the problem. I don’t know if I did something wrong during installation or use. I’m not a certified bike mechanic, so it’s not unlikely I’m making some silly mistake, but even with long research and after many attempts, I was not able to fix this situation, and it kind of ruined the new bike for me…
A Short Look at the SmartShift Interface
Looking at the TRP Hywire, it seems they just contain two shift buttons, which are directly connected to a wire, which is hooked up to the SmartShift box. Using a multimeter, it is pretty easy to figure out which of the wires have which purpose. I came up with the following pinout, where the pin numbers are based on the Higo Mini-F 4-pin connector:
| Pin | Purpose |
| 1 | “Back” switch (shift up) |
| 2 | Not connected (?) |
| 3 | “Front” switch (shift down) |
| 4 | Common connection to both switches (seems to carry ~ 2 V) |
When pressing a switch, you actually make a connection between the wire connected to that switch (pin 1/3) and the common wire (pin 4). I suspect that inside of the SmartShift box, pins 1/3 are connected to some microcontroller input with a pulldown resistor.
Shimano GRX Di2 as a TRP Hywire Alternative
I started searching for other brake options, and stumbled over Shimano GRX brakes, which have a Di2 option. Di2 is Shimano’s very own electric shifting system, and I was hoping that it’s possible to somehow hook it up to my Pinion SmartShift box.
After some research, it turned out that Shimano uses a proprietary serial bus for their Di2 system, which can’t just be connected to the SmartShift’s very simple three wire interface.
I found an amazing YouTube video where somebody disassembles the ST-RX815 lever which I found most interesting. Watching the video, it is visible that the lever has two shift switches (exactly what I need!), which are connected to a small round box which contains another switch (“function button”). That box also has a second wire which goes to the plugs at the brifter which are used to connect to the bike’s Di2 bus. Thus, it seems this box contains the electronics for interfacing with the Di2’s serial bus as well.
So if I could somehow open this small round electronics box, I might be able to connect some wires of my own to the wires from the shift buttons… I would just remove the electronics, ignoring the third function button (which I don’t need anyway), and could even remove the existing Di2 cable and use its hole in the case for my own cable…
Modifying the GRX Lever
I decided to take a chance and order a set containing the GRX ST-RX815 lever as well as a matching brake caliper and brake hose. Let’s just try to disassemble that electronics box and see how it goes…
After removing the rubber cover of the lever, there’s just one small screw which has to be removed to access the electronics box.

Now the interesting part: How to open up this box? The cap with the function button seems to be glued to the body of the box. Heating it up with a hot air gun didn’t seem to do the trick, so I just used a sharp knife and lots of patience to carefully cut through the glue, until I was able to insert a spudger and pry off the cap. And there it is – the expected PCB with the interface electronics:

I carefully pried up the PCB to reveal the wires connected to it:

Three wires coming from the switches – very promising! I de-soldered all the wires and pulled the Di2 cable (containing the red and black wires) from its hole. Now I’m left with the three wires, which I probably just have to connect to the cable coming from the SmartShift box.

To be on the safe side, I used a multimeter to confirm the switches are connected in the expected way. Here, the wire functions are as follows:
| Wire | Purpose |
| Yellow | “Back” switch (shift up) |
| Purple | “Front” switch (shift down) |
| Gray | Common |
Since I wanted to keep maintainability and a clean look, I decided to buy two matching 3-pin cables with Higo plug/jack. This allows me to solder one of the cables to the lever’s electronics box and the other one to the wire which originally went to my TRP Hywires, allowing me to conventiently connect/disconnect the lever.
Now comes the most tricky part: Soldering my wires to the existing ones in the electronics box with very limited space and cable length, while remembering to put heat shrink tubes on the wires before soldering 😉 This is how it turned out:

I decided to fill the whole box with hot glue to seal it from humidity and protect the wiring from vibration and other mechanical influences. I decided to just leave off the original cap, since the box is fully potted with the glue, and there’s no real use for it. This is how the result looks like:

After re-installing the rubber cover:

World’s possibly first Pinion compatible Di2 shifter!
Connecting it to the Bike
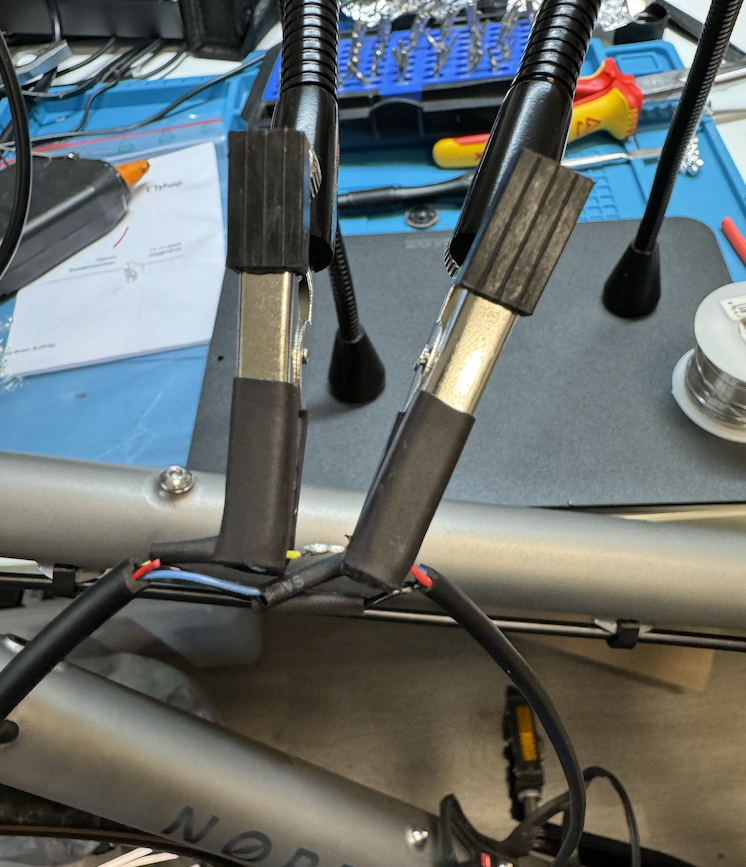
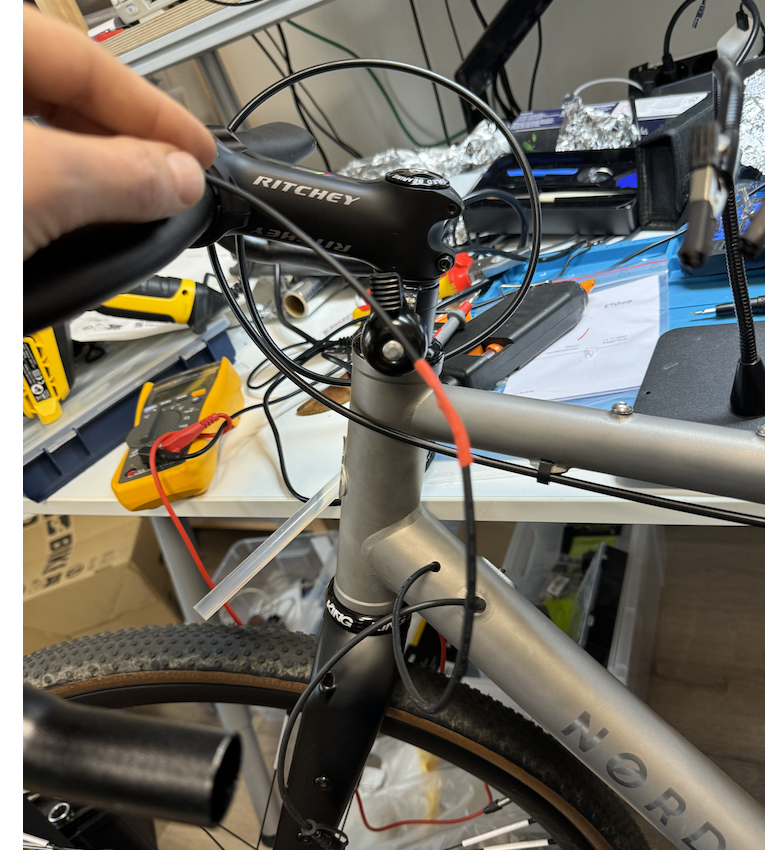
The only task left is to solder the other Higo connector wire to the existing SmartShift cabling. Because I was too lazy to unmount the gearbox to access all the downtube cabling, I decided to just cut the existing wire and connect the new one by soldering. If you want to build a nicer solution, you could use a Higo Mini-F 4-pin connector and solder it to the other end of the cable with the 3-pin Higo connector, which you can then just plug cleanly into the original SmartShift wiring harness.

Finally I just added some heat shrink tube for protection before hiding it all in the downtube:

Testing
A short test shows that the shifting buttons work fine and reliably. Now I’m just waiting for my GRX front brake to arrive to do the first test ride… (My plan is to leave the switches of the left lever unconnected for now. Could also connect them in a similar way to be able to shift with both hands…) And of course I’m really hoping the GRX levers won’t leak as well 😉
Update June 2025
Over half a year later, shifting is still working flawlessly and the brakes have not shown any leaks. Also, subjectively, brake performance has improved compared to the TRP brakes, and noise/vibration levels are also improved.
Nice article. I have a Nordest with a Pinion too.
Thanks. Awesome, are you using the electronic shifting as well or mechanical?
Have you follow the instruction manual of TRP Hywire? If so, it means TRP Hywire is not realible. Google search trp hywire manual.
That manual seems new, it wasn’t available when I installed them. Thanks for pointing me to it!
I just checked it, and it matches what I did, including the torque recommendations. I still don’t see what I could have done wrong.
I can’t really imagine they’re not reliable in general, since there are a few ready-made bikes in the market which use these levers, and I would be surprised if they all have the issue…
If only this niche industry could agree on standard connectors to allow interoperability…
Meanwhile I’m waiting for Pinion to get a proper usb-c interface for charging the Smartshift – like the Savior for Di2. Or even satellite shifters… Or even hood buttons. Honestly, Smartshift at this stage is such a missed opportunity.
Thank you for your excellent article and insight!
Yes, the missing USB-C charging is a real issue when traveling. No charging via power bank, etc. I’ve started looking into that a while ago, and it shouldn’t be too hard to build a USB-C charging adapter. It needs some more work, though.
Hey there. Awesome project.
I have another little question though. Regarding the battery. I got a smart shift myself and am wondering if it would be a lot of effort to but the batteries behind each other so they can fit in the frame and not have them beside each other.
I suspect you can just use any 2S lithium ion battery with 7.2 V after adding the right connector to it (look for the right HIGO connectors, I linked a German shop selling them in my blog post). Quick research turned up this one, for example, which should have the right form factor: https://www.akkushop.de/de/2s1p-72v-74v-2000mah-zylindrisch-li-ion-akku-mit-bms-schutz-und-offenen-kabellitzen/
I never tried this, so do this at your own risk, and be careful with li-ion batteries!
works fine, i took the orginal battery pack, took it apart and now it fits into my frame
Just found this blog looking for a potential brifter option against TRP. 🙂 However in regards to the Travel charging. I bought the 6 Pin cable needed to connect to the charging port and small Voltage “convert” with USB-C circuit board from ebay, put it together and tada it works. My USB -C Powerbank delivers 5V and 12 Volt output and the small board converts it into the Voltage needed to charge the Pinion Battery. Job done 🙂
Hi Bodo, be sure that you actually are using a lithium battery charger. A normal voltage regulator will probably not do the job (risk of damaging the battery or even fire hazard). A proper charging board which works for me is this one: https://www.amazon.de/dp/B0CJY3ZMNH
Thanks for this writeup – detailing the wire pinouts and providing pictures was especially helpful. I went through about 2 or 3 sets of warranty TRP hywire levers before opting to spring for the GRX levers and calipers and do this mod. 2 of the TRP levers failed on the shifter assemblies, and one failed on the hydraulic seals.
I ultimately ended up removing the PCB housing entirely and simply heat-shrinking the soldered connections and anchoring the wires down with tape. For anyone else looking to do this that already has IP-rated connectors laying around, I found old micro-USB cables to be a good fit for the cable routing in the brifters.
Thanks a lot for sharing! Very nice to hear that you’ve been successful with the mod as well.
Yup! I actually just published my write-up below. Ended up removing the USB cables and replacing with some Higo knockoff cables
https://lamarche.dev/life/grx-pinion-shifters/
Is it possible to order you the same shifter?